My BMW 740il, Armidale
NSW Australia 2010
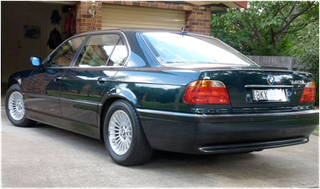
I recently
purchased this BMW 7 series, which was in great condition apart from some wear
on the seats and drivers armrest. The previous owner had performed a shoddy dye
touch up to hide some questionable repairs and cracking on the seats and
drivers armrest.
My first job was
to use the Leatherique Rejuvinator and Prestine Clean over all the interior
leather. This was repeated a couple of times to get the leather back to what it
should be, soft and clean. It’s a bit like washing the car before polishing it.
Colours in the photos vary
due the different light in the photography.
.
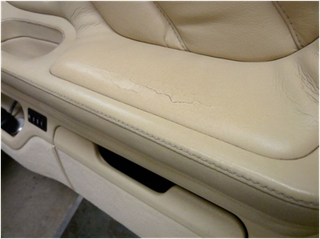
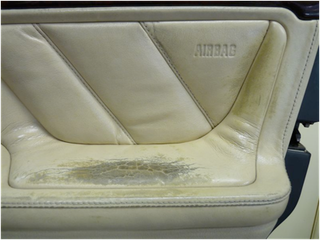
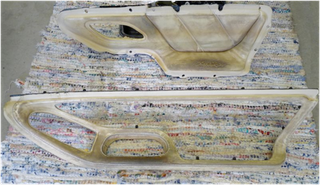
These following pictures show the armrest before I began. You can see the difference in the dye and the cracking caused from sweaty arms and lack of leather care. The leather was also cracking near the door-opening latch where the leather was pushed to open the door.

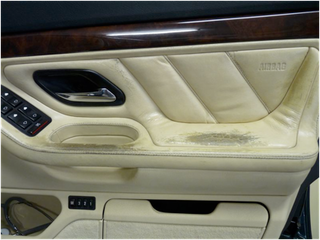
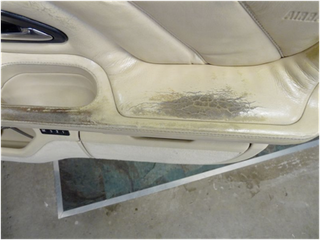
The affected
area’s were wet sanded with the Prepping Agent. The next stage was to mix a
small amount of the matched dye (supplied by Rob from Leatherique in Sydney)
with some crack filler and fill all of the cracking and sand it flat. This
takes a little while to get it looking really flat and smooth but well worth it
in the long run, I learnt a long time ago that good preparation is everything.
I then applied a
couple of coats of dye by wiping it on with a cloth pad and then a final spray
coat using a ‘Touch Up’ spray gun with the dye diluted 10% (water) and the
pressure regulator set at about 40psi. I set the gun on a fine mist spray and
the result was very pleasing for the final finish.
Leave for 48hrs and then buff with a soft cloth and job done.
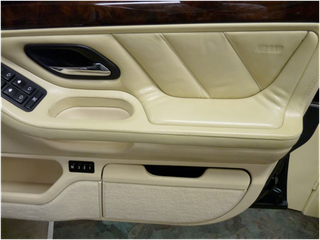
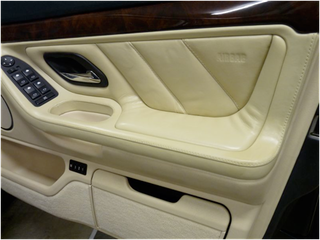
The next two shots show the completed job.
The next stage,
and the most challenging, was the driver’s seat, which had holes, cracks,
scuffs and splits. The drivers seatback nearest the door had two 40-50mm long
by 2mm wide holes in the leather that had been poorly filled and the whole seat
had been covered with a dye/paint that was starting to flake and crack because
of it’s poor quality, especially on the seat base. The next three pictures show
the seat before I began work, in real life the seat looked far worse than this.
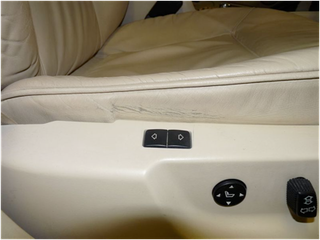
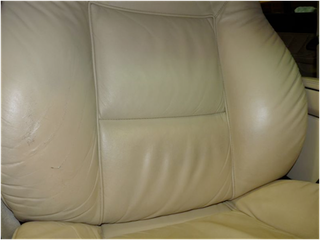
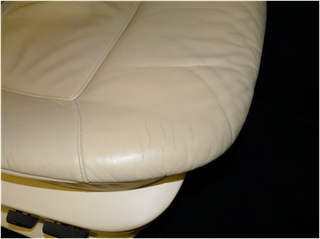
Once I had
cleaned off the old dye/paint job with GP Thinners much more damage than what I
thought was there showed up. I did not remove the seat from the car because I
could reach all of the areas I needed to with the seat in place. (Also removing
the seat is a mongrel of a job)
The holes can
clearly be seen after the ‘strip away’. I repaired these by placing a leather
patch under each hole and glued with ‘Leather Glue’ the repaired holes were
then crack filled and sanded to bring them up to level again before dying.
(Stuffing is protruding from the lower hole)
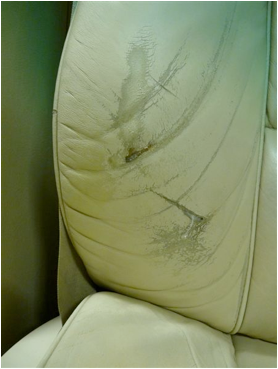
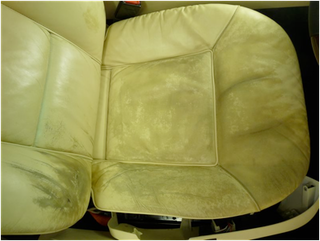
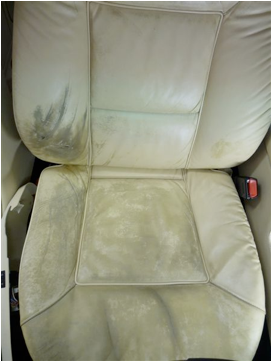
The two pictures below show the seat after applying the Rejuvenator Oil and repairing the holes but before the filler was applied and the seat sanded using Prepping Agent.
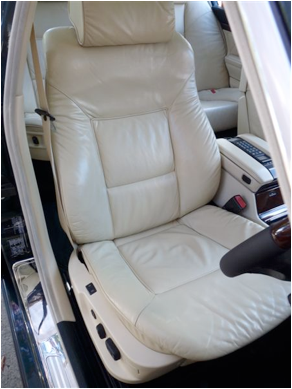
The seat complete
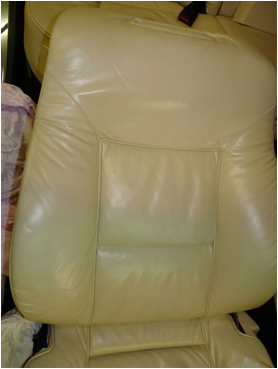
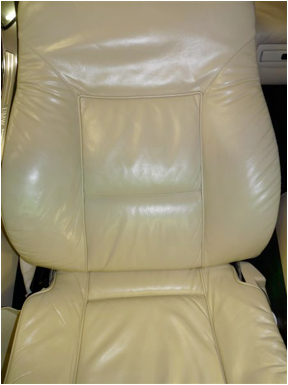
after my finished dye job, I used a good quality brush to apply the dye and I
found it worked very well (obviously the spray gun was not an option with the
seat still in the car!)
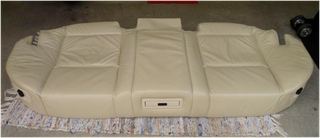
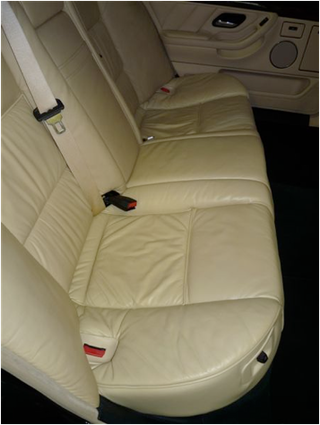
The back seat was
in pretty good shape but had a few scratches from something sharp being dragged
across it, probably a Golf bag, and again the seat had been touched up with a
poor dye/paint finish. I removed the seat from the car and took out the cup
holder and both electric headrest switches before starting the work.
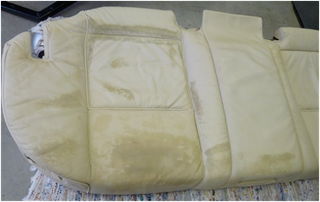
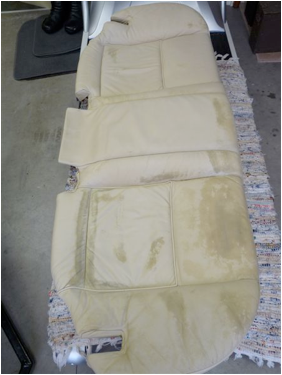
After using the
GP Thinner to remove the old touch up dye I used the Leatherique Rejuvenator
Oil and Prestine Clean, after that I went to the Prepping agent and wet sanded.
These next two shots show the results after rejuvenator oil application and the
wet sanding.
In my opinion the
Leatherique Products seem to take the leather back to looking and feeling like
the showroom factory finish, I first found the Leatherique Products being
discussed on a BMW forum in the USA and the comments were all positive so I
tracked down their agent closest to me here in NSW Australia,
I’m very happy
with their product. Thanks again Rob.
